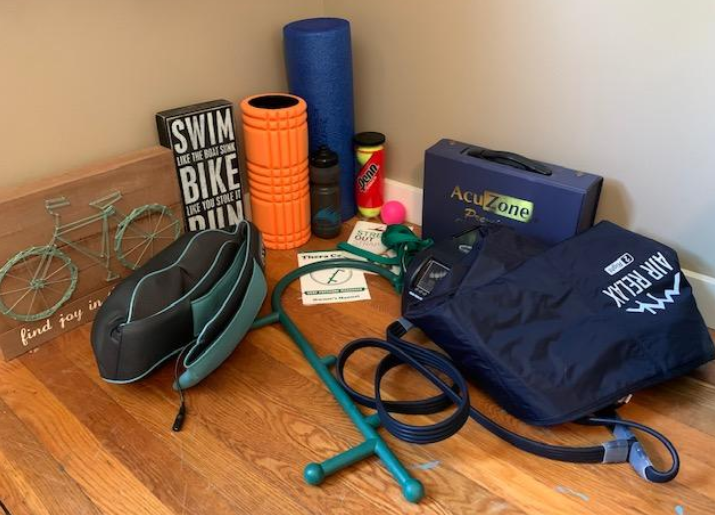
In my last blog we had discussed the wonderful world of foam rolling! I am a huge fan of using the foam roller as a tool to both warm up and recover from workouts. The great thing about the foam roller is it covers a wide section of the part of our body we have utilized during our training effort. However…What about those “spots”? You know the ones I am talking about…
Let’s talk Myofascial Trigger Point release!
Now doesn’t that sound like a fancy way to talk about our knots? Myofascial trigger point knots occur when muscle fibers or the bands of tissue called fascia surrounding the muscle become strained or chronically overused. We can attack and work these bad boys with the foam roller, but there are some additional tools we can use to take them head on!
What are the benefits of trigger point release?
- relax tense muscles
- relieve tightness
- Help to reduce the severity of the localized trigger point
- increase local muscular blood circulation
- improve upon durability of tissue to allow for a reduction in potential chronic injury and pain
Let’s talk tools you can utilize to tackle these little gremlins!
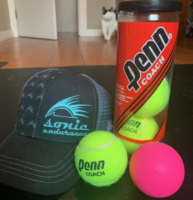
First up…a Tennis or Lacrosse ball!
With a ball we are essentially using our body weight and pressure to work the area. Similar to the Foam roller, the ball you choose to use depends on your level of sensitivity and comfort. The tennis ball is softer and can compress a bit, whereas the lacrosse ball is going to remain firm in the spots you are working.
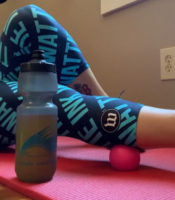
There are a few different ways these can be utilized:
- Standing up with the ball between you and the wall. **Pro tip: you can place the ball in pillow case to help you have better control and an easier time getting the ball into place.
- Lying on the floor with the ball beneath you
- Standing with a hand on the wall for support and the ball beneath your foot (good for plantar fasciitis)
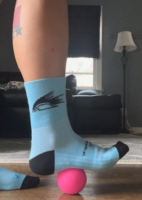
Once you are in the position for which part of your body you are choosing to work,
- Press into the ball to hold it in place
- Roll back and forth, then side to side
- Roll for 30 to 60 seconds and switch sides
- Repeat 3-5 times
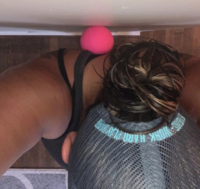
Next up…Thera Cane!
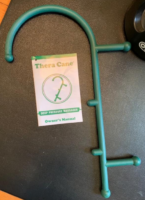
Now Thera Cane is new to me this year, and all I can say is that it is a GAME CHANGER! We all have those hard to reach spots, but with this tool we have the ability to really get at them!
What is Thera Cane?
It is a handheld self-massage cane that provides temporary relief from muscular tension, stiffness, tenderness, and soreness is a handheld self-massage cane that provides temporary relief from muscular tension, stiffness, tenderness, and soreness as well as increasing circulation and soothing away stress and knots.
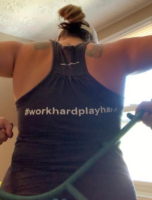
This has become a personal favorite of mine because it is easy to use, light weight, you can use it solo AND comes with a great guide to help you follow along and attack all of your pain points.
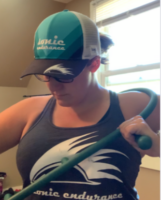
There are SO MANY different ways to utilize the Thera Cane the user’s manual is 12 pages long! So instead of me breaking them all out, here is a link to view ALL of the incredible things you can do with it!
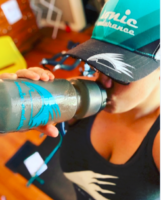
Last, but not least….HYDRATE!!!
Check back for the third part of this recovery series: Train Hard Recover Easy: Part 3!
Missed Part 1?! Check out our blog for that and tons of articles by our AMAZING Coaching team here at Sonic Endurance!
